nbn® Hybrid Fibre Coaxial explained (HFC)
nbn HFC made easy
All types of nbn network connections that utilise a physical line running to the premises are considered Fixed Line connections.
An nbn Hybrid Fibre Coaxial (HFC) connection is used in circumstances where the existing ‘pay TV’ or cable network can be used to make the final part of the nbn network connection. In this circumstance an HFC line will be run from the nearest available fibre node, to your premises.
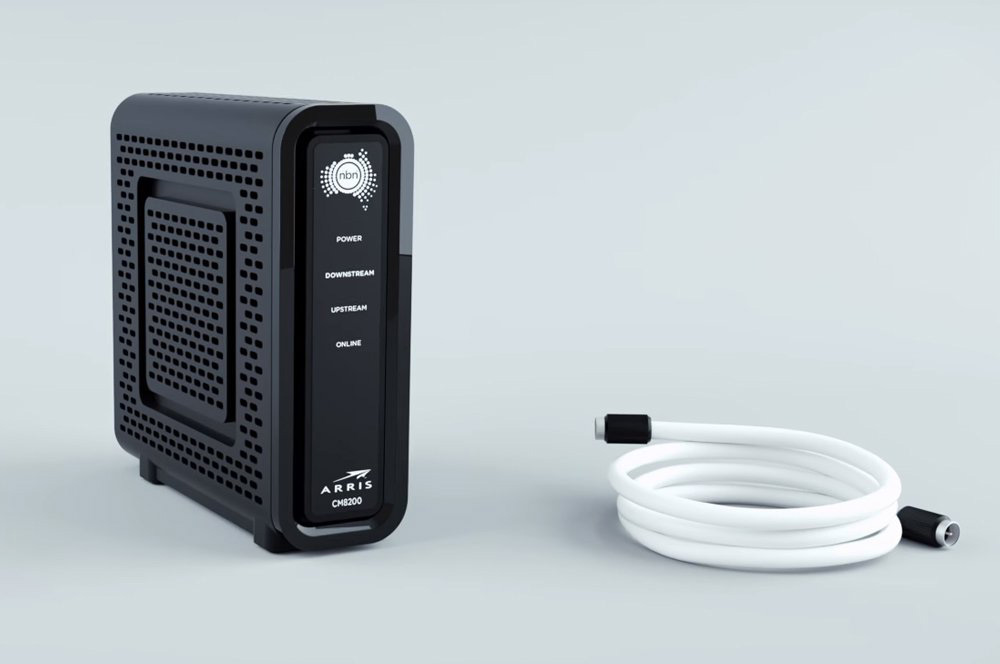
HFC connections require an nbn network device to be installed at the point where the line enters your home. This device requires power to operate.
nbn HFC installation
There are two ways nbn HFC can be installed at your premises – through an nbn approved installer or if eligible, through self-installation.
When you contact your phone and internet provider to connect to the nbn network, they will confirm which installation process applies to your premises.
How to setup your Connection

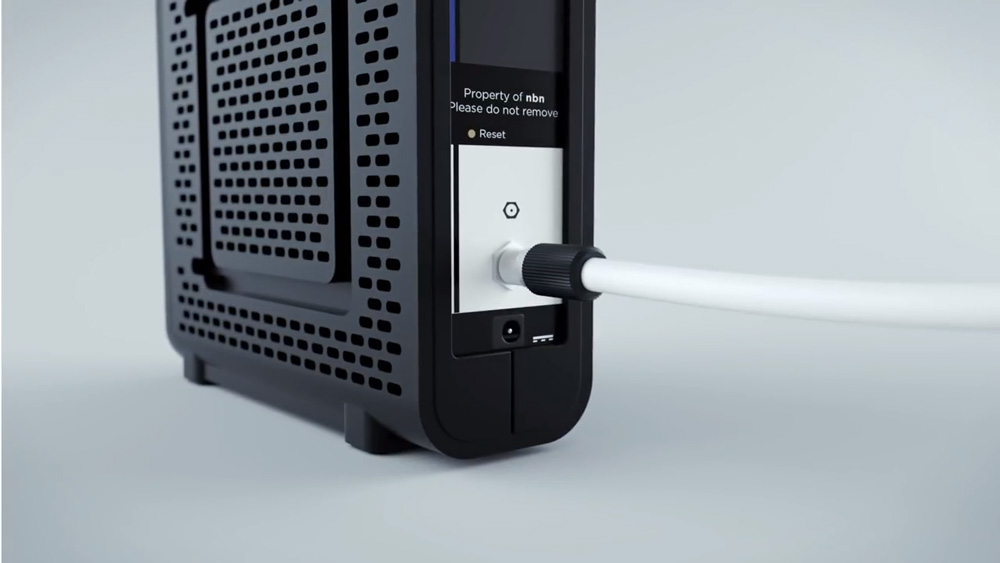
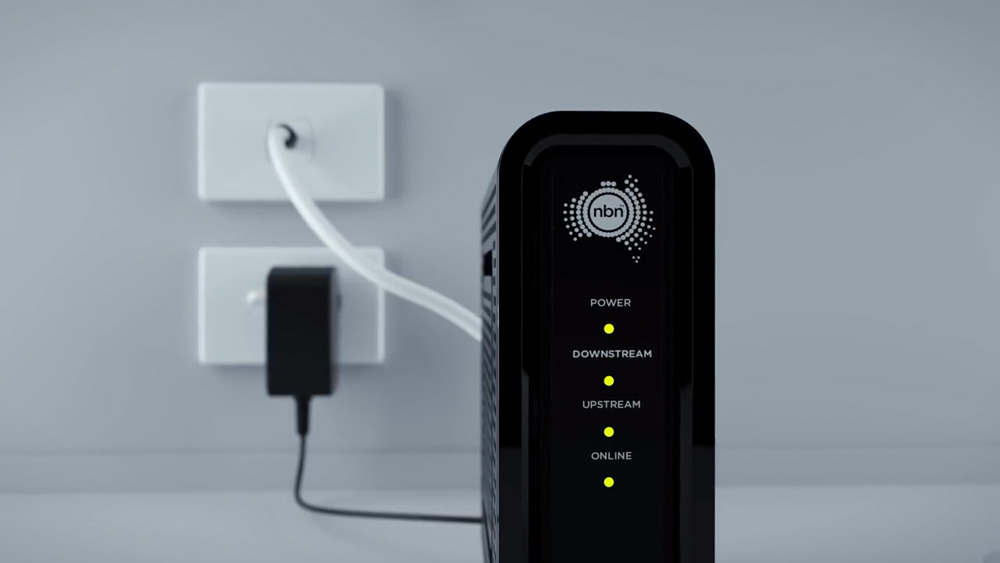
You will need to plug in your nbn™ HFC Connection Device. Ensure the coaxial cable connection is plugged in via the included white cable from the back of the HFC Connection Device. The other end of the white coaxial cable should plug into the cable wall outlet or socket in your premises.


- First, ensure the supplied yellow Ethernet cable with your modem/router (this is usually yellow, blue, grey or white) is plugged from yellow UNI-D1 port on your nbn™ HFC Connection Device, into the WAN port on your modem. This WAN port may also be labelled as INTERNET, LAN/WAN or FIBRE depending on the make and model of your modem.
- You will now need to connect your BYO modem/router to the device. You’ll need a computer, laptop, tablet or smartphone that is connected to your BYO modem/router via Ethernet or Wi-Fi.
- Once you have connected your device to your BYO modem/router, open the web browser on your connected device and type in your modem/router’s default gateway/admin IP address in the address bar. This will be printed on the bottom or back of your modem/router depending on the make and model. Some of the most common addresses are 192.168.1.1, 192.168.20.1, 10.1.1.1 and 10.0.0.138. The IP gateway address for your modem/router will typically be printed on the bottom or back of your device.
- Once you have accessed the gateway of your modem/router, you may see a login page. If there’s a username or login field, the default username will almost always be admin (it may even already be filled in). The default password is typically admin or password.If you can’t log in with these settings, please check the manufacturer’s website for your BYO modem/router’s default login settings. If your BYO modem/router is secondhand or you have used it previously, it may have custom login details set. If you need to, you can factory reset the modem/router to return it to the default settings.
- From here, it gets a little tricky to offer general advice for all BYO modem/routers. The layout of modem/router settings pages can vary greatly for each different device depending on the make and model. If you get stuck or it is not clear where you should change your internet settings, you need to check the manufacturer’s website for support information. Ideally, your modem/router will have a Setup Wizard or Quick Setup section that will run automatically the first time you log in to the settings, or there’ll be a fairly obvious button to launch it.
- The Setup Wizard or Internet Settings section should run you through entering the required connection settings, step by step. The most important settings are the following:
Encapsulation or Connection Type – MUST BE SET TO PPPOE
Connection Mode/Access Type/Service Type – ETHERNET WAN/RESIDENTIAL GATEWAY/WIRELESS ROUTER MODE
This will then allow you to enter your username (sometimes called Login) and password which are supplied in your NETPAL welcome email or as advised by our technical support team. - After completing the Setup Wizard or Internet Settings section and saving your settings, give the modem/router some time. Some modem/routers reboot automatically after every new configuration, while others simply need a few minutes to apply the settings.
Take a look at the lights on your modem router. Most should now be green, blue, purple or another “positive” colour. Many modem routers have lights that flash to indicate connection activity, so you shouldn’t be concerned if any lights are flashing unless the manufacturer’s support information specifically advises that flashing lights indicate a problem. - Hop on one of your computers or Wi-Fi devices and try to visit a website. If it works, your NETPAL nbn™ internet is up and running! If you have issues connecting, please contact our support team for further troubleshooting.
Related Articles
nbn® Fibre to the Building explained (FTTB)
nbn FTTB made easy All types of nbn network connections that utilise a physical line running to the premises are considered Fixed Line connections. A Fibre to the Building (FTTB) connection is generally used when we are connecting an apartment block ...nbn® Fibre to the Premises explained (FTTP)
nbn FTTP made easy All types of nbn network connections that utilise a physical line running to the premises are considered Fixed Line connections. An nbn Fibre to the Premises (FTTP) connection is used in circumstances where a fibre optic line will ...